 twice to create two child Page nodes under the Home node, and name them Recent and Favorite.
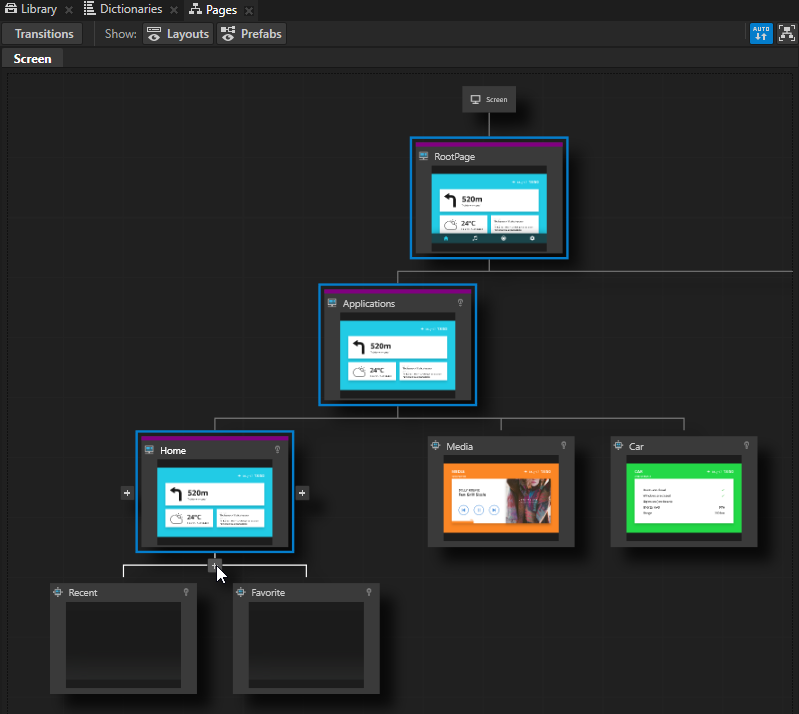
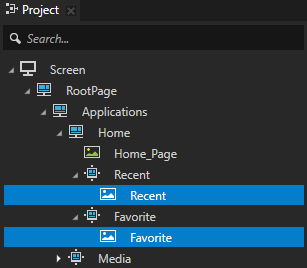
- Recent texture to the Recent node
- Favorite texture to the Favorite node

- X to 574
- Y to 148
In this step of the tutorial you add more content to the Home node to learn how Page Host nodes handle navigation of their subpage nodes.
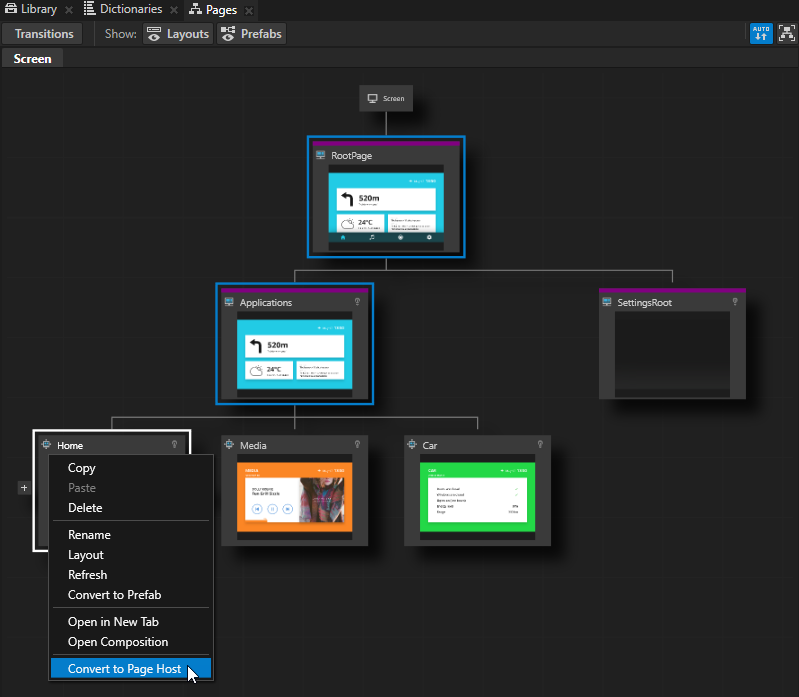
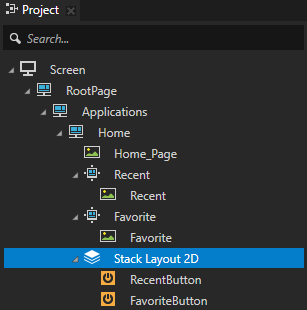
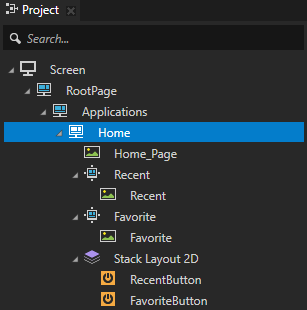
In this section you convert the Page node Home to a Page Host node and add two more Page nodes to the Home application.
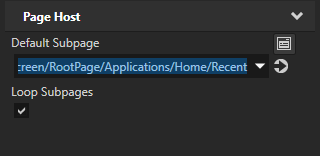
Page Host nodes keep track of the currently active Page or Page Host node within their scope. When you activate a Page Host node, that Page Host node automatically activates the currently active Page or Page Host node in its scope. In other words the Page Host node remembers and restores its state during activation to the state before it was deactivated.
To add content to the Home node:
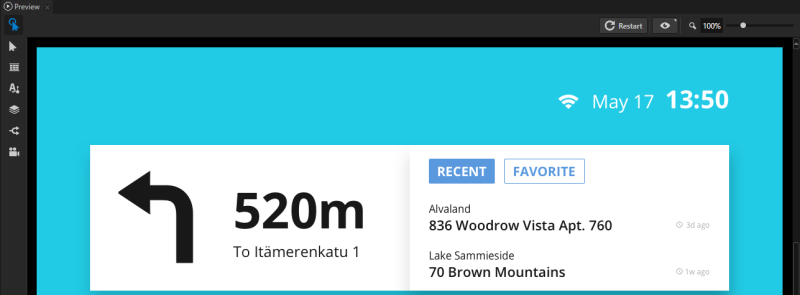
twice to create two child Page nodes under the Home node, and name them Recent and Favorite. In this section you create the navigation buttons so that you can navigate between the Page nodes Recent and Favorite in the Page Host node Home.
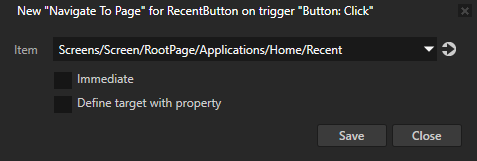
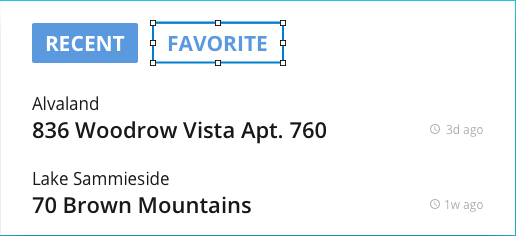
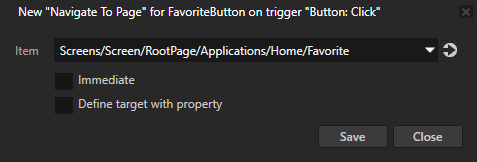
To create the navigation for the Recent and Favorite nodes:
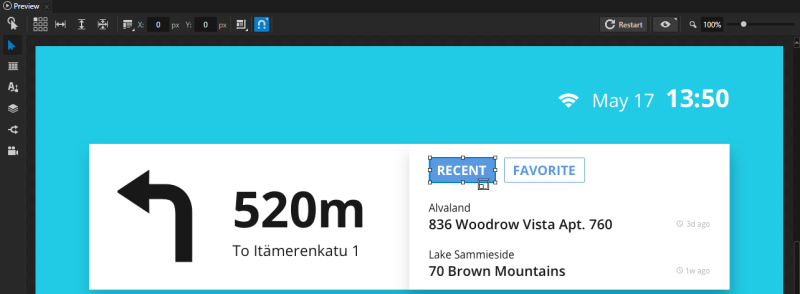
 to position the Stack Layout 2D node so that it is aligned with the top-left corner of the Recent button.
If you do not set the size of a Stack Layout 2D node, the size of its child nodes determines the size of the node.
In the Preview select the Node tool and click  to disable snapping to nodes and guides.
When you disable snapping, you can use the Node tool to move a node in the Preview so that it does not snap to nodes or guides.

 to enter the Interact mode.
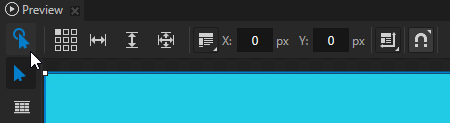
To find out more about the Page and Page Host nodes, see Using the Page and Page Host nodes.
To find out more about working with the state managers, see Using state managers.
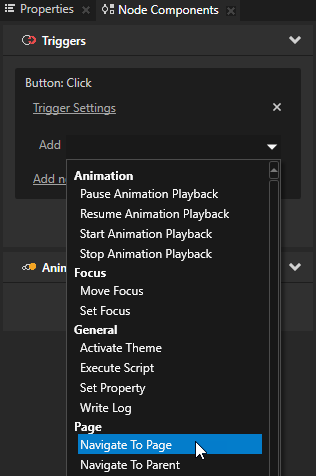
To find out more about working with triggers and actions, see Triggers.
To find out more about working in the Preview, see Editing your application in the Preview.
